Save 5%


Spitfire HF Mk. VIII stencils for the Eduard kit
The preparation of the surface prior to the application of the HGW Wet Transfer:
- The HGW Wet Transfer technology has been tested on Gunze brand paints and preparations.
- Carry out the test (not on the model), if you are applying to paint made by a different manufacturer.
- We recommend to spray the surface with a glossy varnish in order to achieve a perfect result.
- No matter whether you are applying the transfer onto paint or varnish, it is advisable to go over the surface using sandpaper of a grade from 6 000 to 8 000.
- Naturally, it is also essential to ensure that the base is clean, grease-free and clear of dust.
You will need:
- a scalpel,
- sharp tweezers,
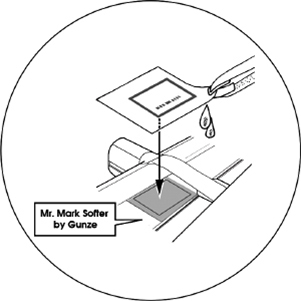
- the Mr. Mark Softer product by Gunze,
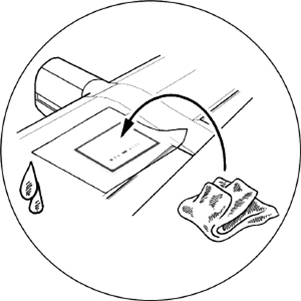
- a cotton bud and clean cloth.
Step by Step:
1. Cut out the required design using a sharp scalpel.
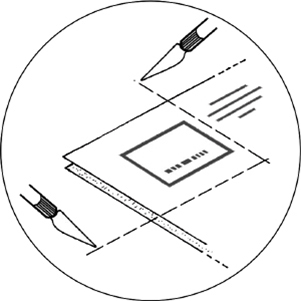
2. Soak the base paper in warm water (approx. 20 sec).

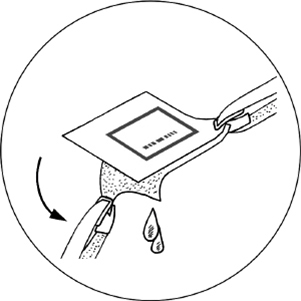
3. Remove the transfer from the base paper.
4. Apply a layer of Mr. Mark Softer on the surface where you intend to apply the transfer.

5. Place the transfer in the required position on the layer of Mr. Mark Softer.
6. Carefully press out any excess liquid and bubbles. (Use the cloth and the cotton bud.)
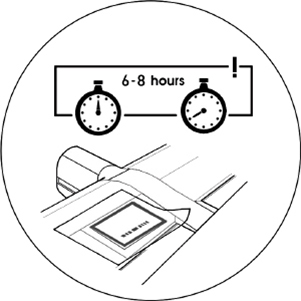
7. Ideally, leave it to dry for 6-8 hours.
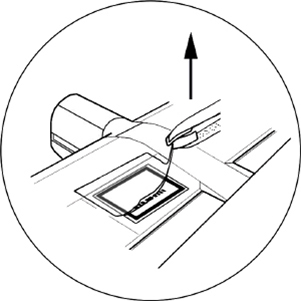
8. Carefully remove the transparent transfer film.
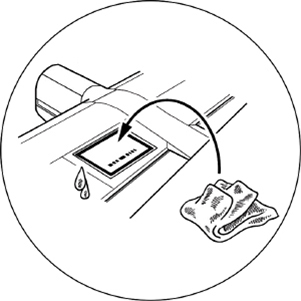
9. Clean off any traces of transfer glue with a wet cloth.
By HGW Models
Products for the same recommended kit / aircraft and more:
Load More...
© 2017 - 2025 the48ers.com. All rights reserved.